Lessons Learned
Throughout the project, new skills and techniques will be learned. This section documents what was learned during the process.
3D Printing
Making Mistakes
A few important points were learned about the process of 3d printing. First was making sure the printer was set to the correct settings. The filament used is ABS plastic, as it was learned that PLA can warp when outside in the heat for too long, so ABS was the suitable material. The program used to slice the models was Ultimaker Cura. Because some of the models required printing surfaces that were above the build plate, the program needed to be modified to allow printing support beams. For instance, the sliding lock that was printed needed to have a hollow case, so the program filled in the gap with support beams. However, looking at the print, the support beams made the part unusable, unless the support beams were taken out by cutting and sanding.
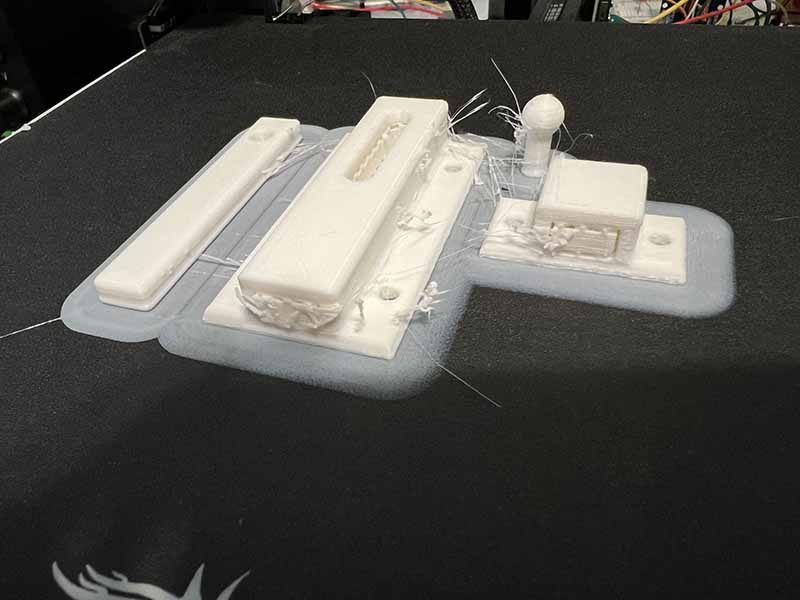
Another issue that can be seen is 3d printing multiple parts at once. Since the extruder moves between each part, the plastic is being dragged across the part. In the following prints, thin lines of plastic run throughout the part. Notice also that depending on the orientation of the part, the print time and material used can be reduced. For the following two prints, the orientation was upside down, seeing as the parts are hollow, if they were printed rightside up, there would be a lot of support beams to break off.
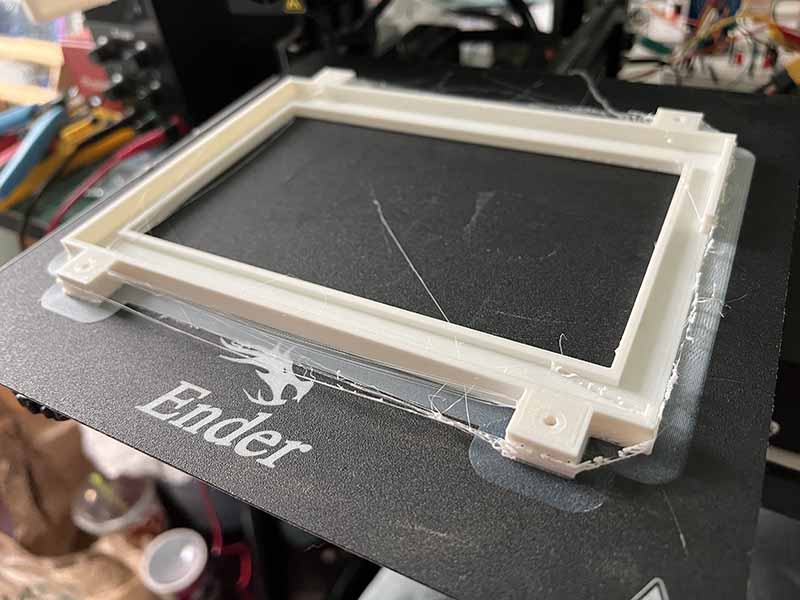
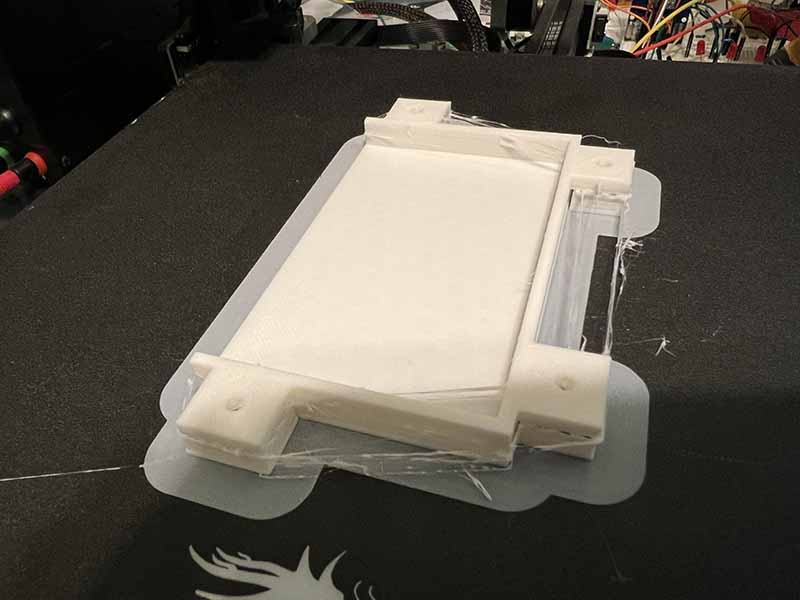
For reference, the Ultimaker Cura program was set to the following to provide accurate 3d prints:
General ABS
Material: ABS
Nozzle Size: 0.4mm Nozzle
Print Settings
Quality
Layer Height: 0.2mm
Shell
Wall Thickness: 1.6mm
Wall Line Count: 4
Top/Bottom Thickness: 0.8mm
Top Thickness: 0.8mm
Top Layers: 4
Bottom Thickness: 0.8mm
Bottom Layers: 4
Horizontal Expansion: 0
Infill
Infill Density: 20%
Infill Patter: Cubic
Material
Printing Temperature: 240 degrees Celsius
Build Plate Temperature: 60 degrees Celsius
Speed
Print Speed: 50mm/s
Travel
Enable Retraction: Enabled
Z Hop When Retracted: Disabled
Cooling
Enable Print Cooling: Enabled
Fan Speed: 0%
Support
Generate Support: Enabled
Support Placement: Everywhere
Support Overhang Angle: 45
Support Pattern: Lines
Support Density: 15
Support Line Distance: 2.6667
Support Z Distance: 0.2mm
Support X/Y Distance: 0.8mm
Support Distance Priority: X/Y overrides Z
Support Join Distance: 2mm
Support Horizontal Expansion: 0
Support Infill Layer Thickness: 0.2mm
Minimum Support Area: 2
Build Plate Adhesion
Build Plate Adhesion Type: Brim
Bluetooth Technology
Bluetooth Classic vs Bluetooth Low Energy (BLE)
Both Bluetooth Classic and Bluetooth Low Energy use the 2.4 GHz frequency band to send and receive information. However, there are differences between the two, thus each having different uses.
Bluetooth classic provides two-way communication with an application throughput of 2.1 Mbps [1]. It’s highly effective at short distances. Bluetooth Classic is mainly used to stream audio and is commonly used for wireless speakers, headphones, and in-car entertainment systems [2]. It has a latency of 100 ms and up to 30 mA of power consumption [1].
Bluetooth Low Energy has an application throughput of 0.3 Mbps, with a limit of 20 bytes packages allowed to be send [1]. Bluetooth Low Energy is used for its communication capabilities, but is now also used for indoor positioning [2]. It has low power consumption (up to 15 mA, but can be 100x lower), with a range of 100 m and a latency of 3 ms [1]. This project uses Bluetooth Low Energy for the mobile app to communicate, giving a long distance range. Also, multiple devices can connect to the Smart Cooler.
[1] https://www.thedroidsonroids.com/blog/bluetooth-classic-vs-bluetooth-low-energy-ble
[2] https://www.bluetooth.com/learn-about-bluetooth/tech-overview/
Bluetooth Properties
Bluetooth’s main advantage is being able to communicate with devices without a router or access point. To follow the Bluetooth standard, the Bluetooth device must have a profile defined so it can communicate with other devices. A GATT or general access profile (GAP) defines the records of Services, Characteristics, and Descriptors. Services are the data structure that contain Characteristics. Characteristics contain information such as its type, value, properties and permissions. The permission allowable are read, write, and notify. Read and write are self-explanatory, but notify means that when the Characteristic changes, the device connected to it will be notified of the change and read the value. Descriptors are just a general description of the Characteristic, and is optional. Each attribute must have a UUID, either a 16-bit value, or a custom 128-bit UUID [3].
Device discovery involves the defining general access profile (GAP), where the device that needs to be discovered is “advertising” its GAP, and the device scanning for the advertising device is searching and connecting to it. Advertising involves sending packets continually, so that the device scanning can detect it. The advertising device is the Bluetooth peripheral and the scanning device is the Bluetooth central [3]. All of these properties had to be implemented on the Raspberry Pi using the bluez service, scripted in python.
[3] https://www.bluetooth.com/blog/a-developers-guide-to-bluetooth/
Raspberry Pi
Setting up the Raspberry Pi involved a lot of configurations. The Raspberry Pi in this cooler uses the SPI protocol, serial port, and 1-wire communication. The different modules needed libraries to be installed to be able to communicate with the devices. For instance, the GPS module required the gpsd library to allow to use it. The LED light strips use ws281x LED lights, so a specific library for those lights were required to use the light strip. Another specification for the light strips used was that the audio on the Raspberry Pi needed to be disabled. The RFID module requires SPI. An analog-to-digital converter was used for the light sensor and battery level sensor to convert a simple voltage divider to calculate a proportional value. Luckily, the Raspberry Pi is a widely popular microcontroller, so the devices used with the Raspberry Pi were selected because they were compatible. The Raspberry Pi contains 40 pins, 26 of them GPIO pins. Some pins have special functions, such as SPI, I2C, and serial communication.
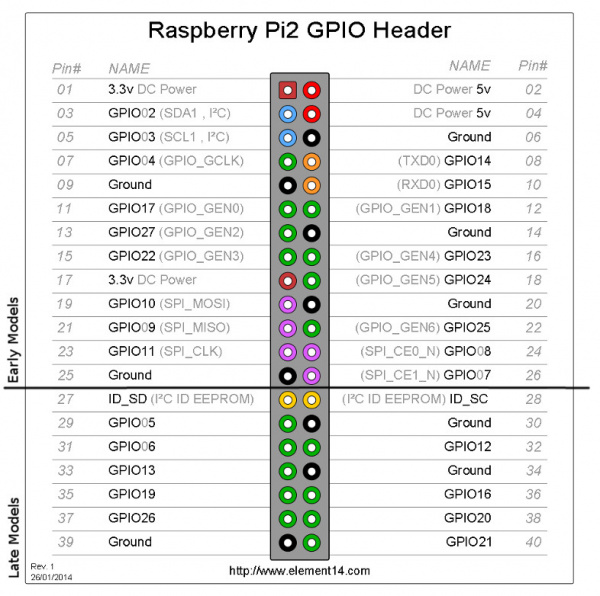
The required pins for the project equaled 15 pins, not including power. The pinout of which device is using which pins on the Raspberry Pi is given below.
Quick Connects
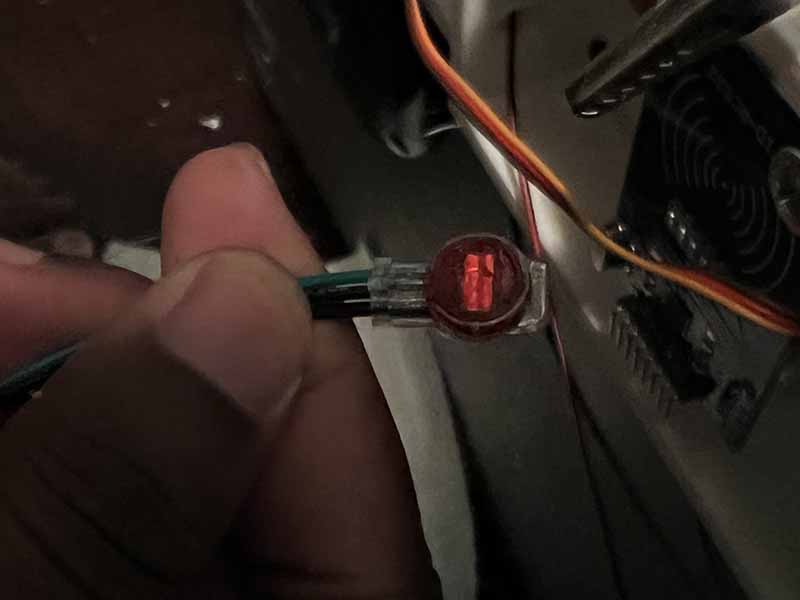
However, upon testing it was discovered that the ground connects from the quick connects were not connected. The door position sensor and servo was working, but not the RFID. After checking the wiring of the RFID, the conclusion was that the ground was possibly not connected. It was assumed that the wire gauge used for the quick connect was too small, therefore not providing a reliable connection. The solution to this was not to use the quick connects, but to solder all the connections together. This solved the issue.